Showing posts with label Installation. Show all posts

Saturday, January 25, 2014

Creating Weblogic Server Domain

This is a subsequent post for Weblogic server installation. As soon as the Weblogic server installed, it's required to create a Weblogic server Domain.
  1. Oracle\Middleware\wlserver_10.3\common\bin and open “config” application. And accept the User account control.
  2. By default Create a new WebLogic domain will be checked, here we are creating new domain so select the “Next”.


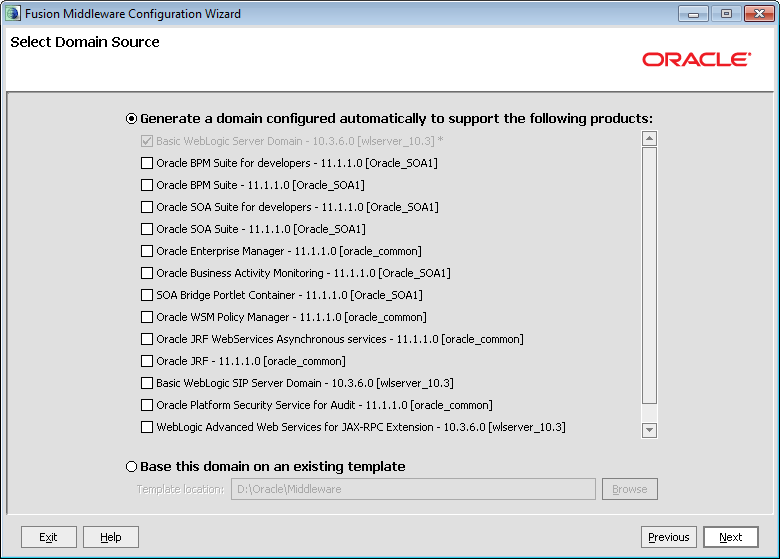
  1. By Default, Basic WebLogic Server Domain will be checked, now trying to create a simple Weblogic server domain. (This domain will use to run the web application as well as a feature we can extend other products like SOA  suite, Webcenter portals, Webcenter content like other Oracle products)

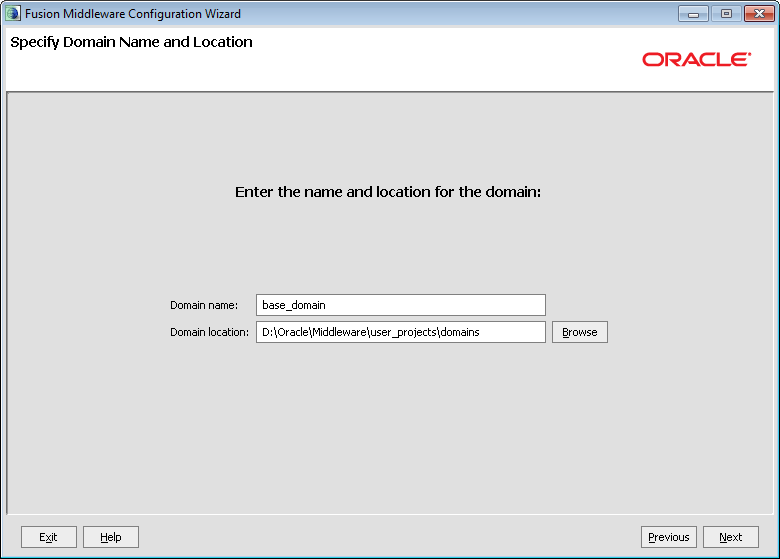
  1. So now that will show the domain Name and Location Wizard, Please provide the name and select the location then click “Next”.
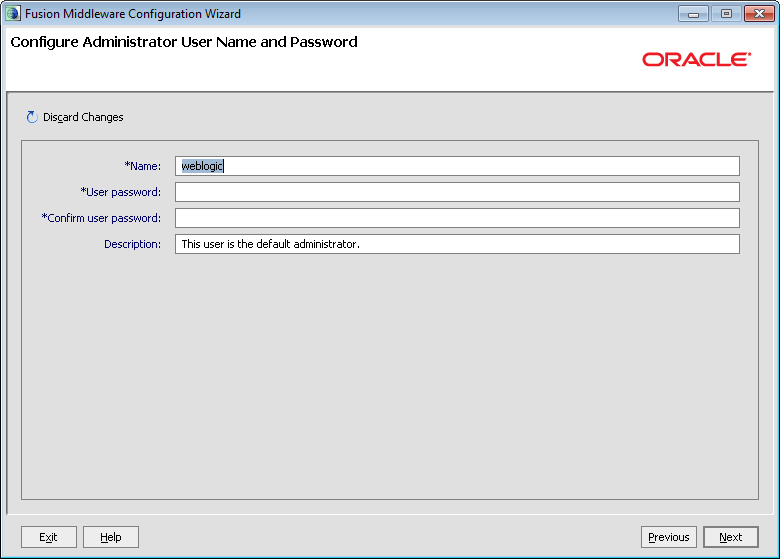
  1. In Configure Administrator User Name and Password Wazard, provide the password for admin server. This password will be used for the login Weblogic server console.

  1. Now select the JDK from where you installed JDK and Click “Ok” and “Next” to proceed.
  1. Now select the Admin server and Managed servers, Clusters… click “Next”.
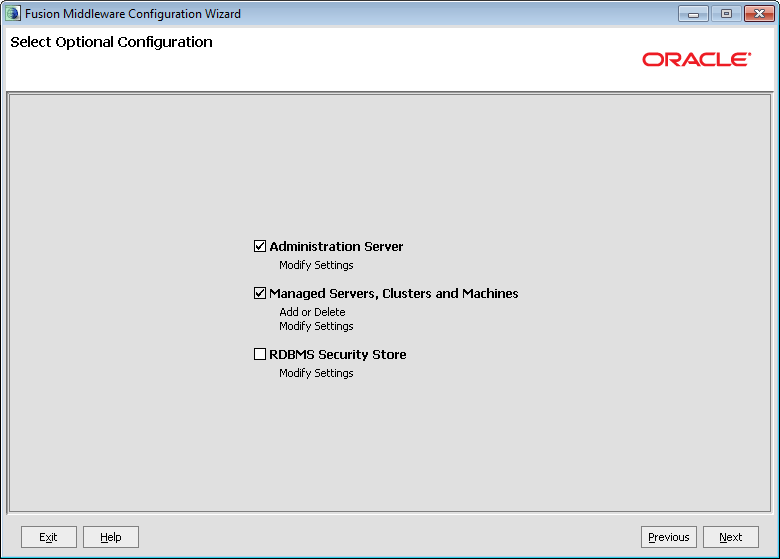

8. Admin Server configuration, please leave as defaults and click “Next”
  1. For configuring Managed servers, leave as default and click three times next until you reach summary screen.
  2. On the summary screen observe, and click “create” to create a domain.


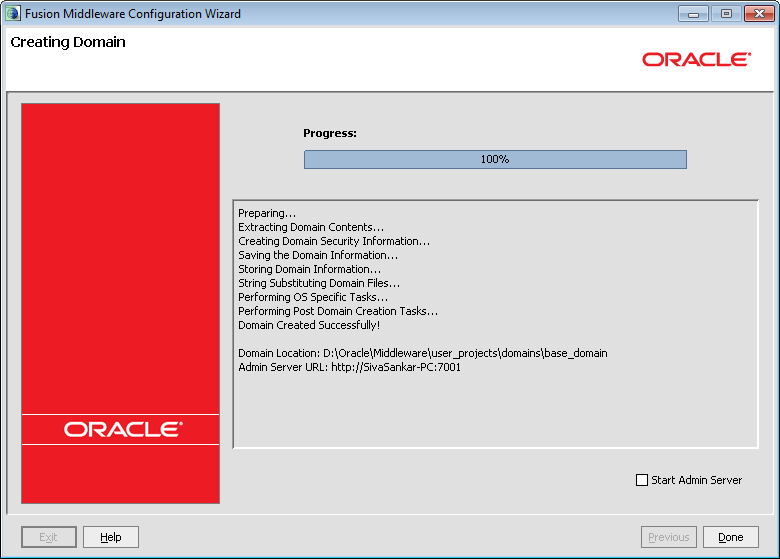
  1. Once its completed 100 %  without an error, click done. That’s it domain create is done.
  2. Now start the domain useable.
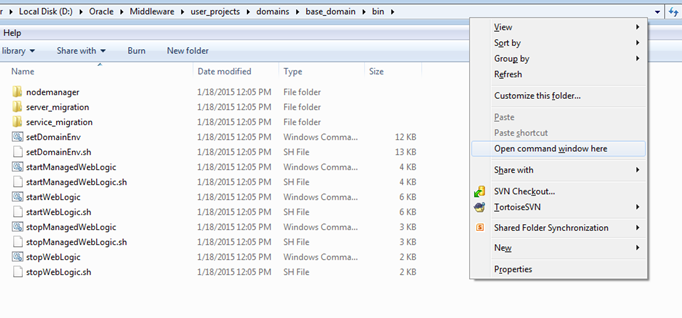
  1. To start the server, navigate \Oracle\Middleware\user_projects\domains\base_domain\bin open command prompt and startwebLogicserver.cmd
Hint: open cmd in sample in windows use shift+right click


  1. Once the server is running mode. Open browser and type localhost:7001/console
On console, enter the username as   Weblogic and password as welcome1 which you provided while domain creation.

Happy learning…. ☺

Saturday, January 11, 2014

weblogic server installation -- Step by Step


The purpose of this article is how to install a 64-bit version of the Oracle Fusion Middleware / Weblogic Server 11g on a 64-bit Windows 7 or Windows Server operating systems. This will help us to get this going as quickly as possible to support SOA or WebCenter installation development.
Software
  1. Download software from OTN
Installation
  1. You can Install Weblogic server by double clicking or open cmd console and type Java –jar  filexxxxx. Jar
  1. After extracting 100% below wizard will be shown, click Next to proceeds.  
  1. Create a new Middleware Home, to install the software (all  files will be copied at this location)
  1. Skip the Security Updates by unchecking checkbox.
  1. Click “Yes” and “Next” for bypass Security Updates.
  1. Choose Install Type as Typical for weblogic and coherence and click Next.
  1. Select the JDK from the local system.
  1. Once Jdk is selected, click “Next”.
  1. Check the Product Installation Directories and click “Next”.
  1. This wizard will show a Summary of Installation, observation and click “Next”.
  1. The wizard will show the process of installation,
  1. On Completion of Installation uncheck “Run Quickstart” and Click Done,
  1. Close the CMD, That’s it Weblogic server installation done, next step is create Domain

Happy Learning…..

Saturday, December 21, 2013

Creating Integrated weblogic Server Domain - Step by Step

This is a subsequent post for JDeveloper installation. As soon as JDeveloper installed, we need to create an integrated Weblogic server.
By creating an integrated Weblogic server domain we can test the application locally so productivity will increase, and easier to debug the web applications.
  1. Open JDeveloper and select the “Default Role” and click ok.
  1. Once JDeveloper is open. From “Run” menu, select the “Start Server Instance (InegratedWeblgicServer)
  1. This will prompt credential’s, just Enter the password and click ok.


  1. This will create a domain and start the domain as well. While starting domain it will prompt to firewalls blocking security select the private network and click “Allow access”

  1. That’s it. The integrated Weblogic server will be starting soon. Once it’s started status will show in the log.
Happy learning…. ☺

Saturday, December 14, 2013

JDeveloper Installation

This is an explanatory installation of JDeveloper, For developing J2EE, ADF, SOA, and other middleware projects are which developed JDeveloper IDE.

This article will provide quick and easy installation screens for Jdev.

This installation step starts with downloading the software. Download JDeveloper IDE from OTN.


  • Once JDeveloper is available open command prompt and extracts JDeveloper. Jar as shown below.


  • When it’s completed 100% that will open a wizard to install Jdev. On welcome wizard, click Next.


  • Create a middleware home to install JDeveloper and click Next.

  • Choose Install Type and click Next, usually, we need to install JDeveloper and ADF with Weblogic Server.

  • So this will provide the integrated Weblogic server to test the application (formally Java and ADF application)
  • Next step, select the JDK path, from browse and select from a system where JDK installed
  • Once JDK has selected, click Next

  • To confirm the developer installation, click on Next.

  • Click Next once observation on a summary of JDeveloper installation.

  •  Installations started and wait until it’s completed for 100% completion.

  • Once the installation is completed, below screen will show Uncheck Run Quickstart and Click Done. As soon as do the installation, the wizard will close and from the command prompt will exit from Jdev installation, close the command prompt.


Now you can open JDeveloper from the start(windows) menu and start work.

That’s it; hope this small article might be useful for beginners.

Happy Learning 😊…!